Build a Personal Portfolio Website with HTML and CSS
August 11, 2026
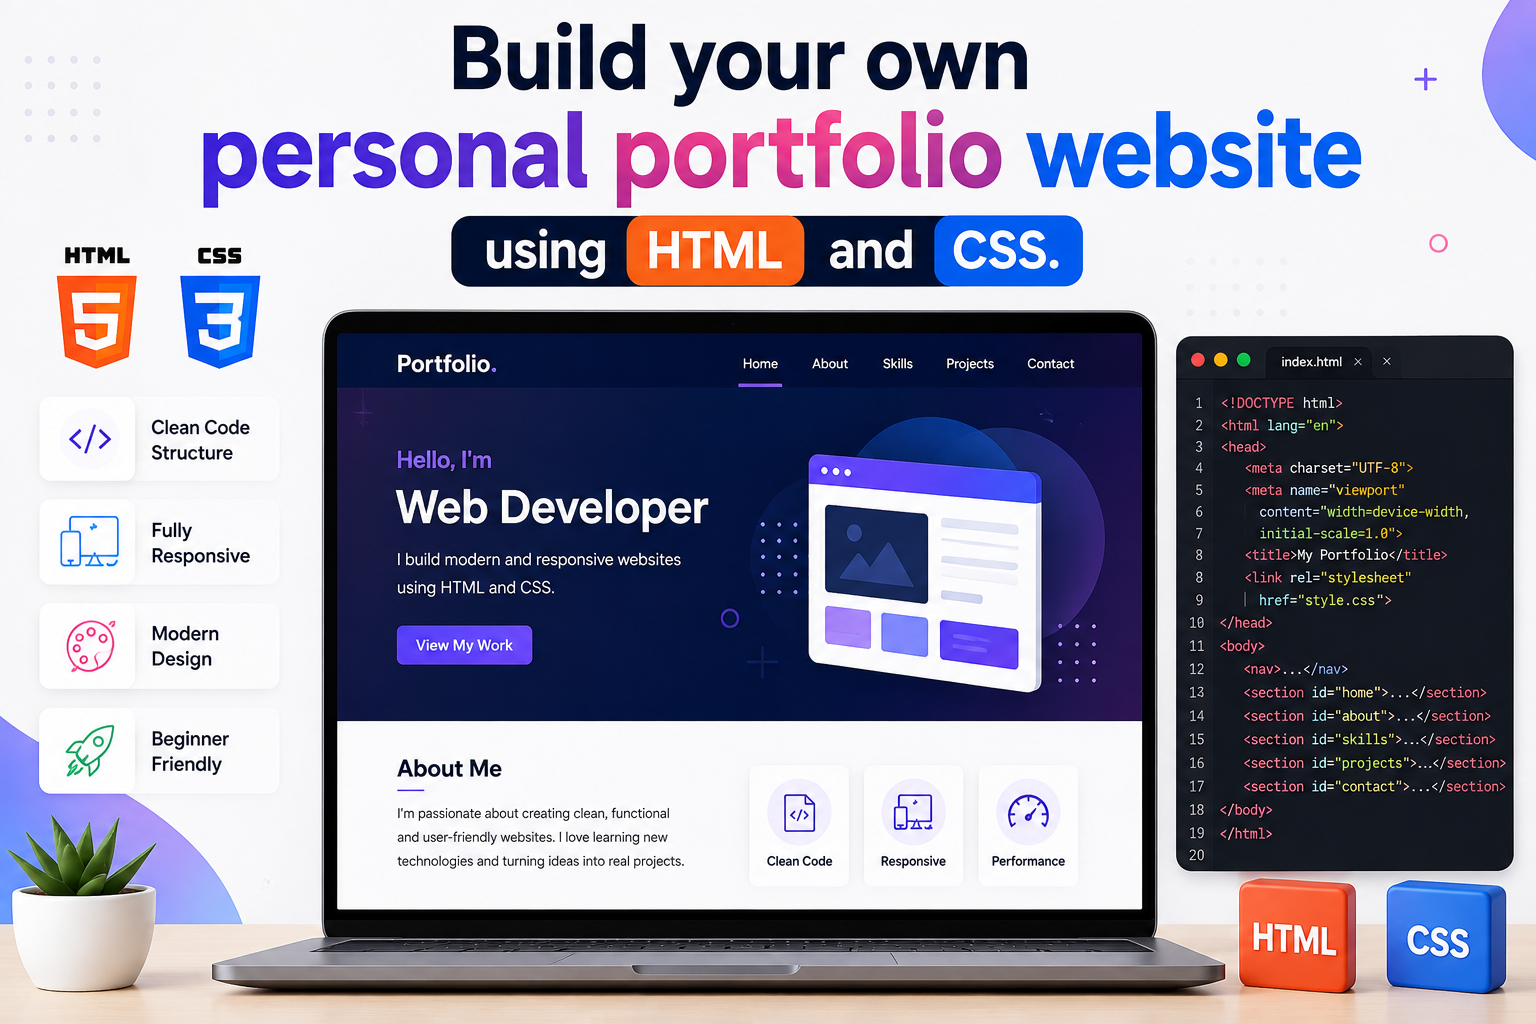
Learn how to build a personal portfolio website using HTML and CSS in this beginner-friendly web development project. You'll create a responsive website with a navigation bar, hero section, About Me section, skills, projects, and contact section while learning the fundamentals of HTML and CSS.
What You'll Learn
By completing this personal portfolio website project, you'll learn how to create a complete webpage using HTML and style it with CSS. You'll also learn how different parts of a website work together to create a professional and responsive design.
- Create the structure of a website using HTML.
- Use headings, paragraphs, links, and sections.
- Create a navigation menu.
- Add images to a webpage.
- Style a website using CSS.
- Work with colors, fonts, margins, and padding.
- Create buttons and content cards.
- Use Flexbox to create website layouts.
- Create a responsive website for different screen sizes.
- Organize HTML and CSS code into separate files.
What We're Building
Our goal is to create a personal portfolio website that showcases a person's introduction, skills, projects, and contact information. The website will also include a navigation bar so visitors can quickly move between different sections.
The final website will contain several important sections that are commonly found on modern portfolio websites.
- Navigation Bar
- Hero Section
- About Me Section
- Skills Section
- Projects Section
- Contact Section
website-structure.txt
Before You Start
You don't need complicated software to build this project. A computer, a web browser, and a code editor are enough to get started.
- A computer
- A web browser
- A code editor such as VS Code
- Basic knowledge of HTML
- Basic knowledge of CSS
Create a new folder for your project and name it personal-portfolio.
project-folder.txt
The index.html file will contain the structure of the website, while style.css will control its colors, spacing, fonts, layout, and overall appearance.
Step 1: Create the HTML Structure
Let's begin by creating the basic HTML document. HTML provides the structure of our portfolio website, while CSS will later control how the website looks.
index.html
The DOCTYPE tells the browser that we're using HTML5. The head contains important information about the webpage, while the body will contain everything visitors see on the page.
The title determines the text shown in the browser tab, and the link element connects our HTML file to the CSS stylesheet.
Step 2: Create the Navigation Bar
A navigation bar helps visitors move between different sections of your portfolio. We'll create links for Home, About, Skills, Projects, and Contact.
index.html
Here we're using the nav element for the navigation area, ul for the menu, li for individual menu items, and a elements for the links.
The links use IDs such as #about and #projects. When a visitor clicks one of these links, the browser moves to the section with the matching ID.
Step 3: Create the Hero Section
The hero section is the first major section visitors see when they open your portfolio. It introduces you and gives visitors a quick idea of who you are and what you do.
index.html
Replace Alex Johnson with your own name. You can also change the description to match your interests, skills, and goals.
The button links visitors directly to the Projects section, making it easy for them to see what you've built.
Step 4: Create the About Me Section
The About Me section tells visitors more about you, your interests, and your journey. A portfolio is more than just a collection of projects, so use this section to introduce yourself.
index.html
You can personalize this section with your own story. Students can mention their school, interests, favorite subjects, coding journey, or future goals.
Step 5: Create the Skills Section
The Skills section shows visitors the technologies and abilities you are learning. We'll display each skill inside a simple card.
index.html
You can add more skills such as JavaScript, Scratch, Python, Robotics, UI Design, or any other technology you are learning.
Step 6: Create the Projects Section
A portfolio should showcase projects you have actually built. The Projects section gives visitors an opportunity to see your practical work rather than simply reading about your skills.
index.html
Each project card contains a project name, a short description, and a link. Replace these example projects with your own work and update the links so visitors can explore your projects.
Step 7: Create the Contact Section
The Contact section gives visitors a simple way to get in touch with you. For this beginner project, we'll create an email button that opens the visitor's email application.
index.html
Replace hello@example.com with your own email address. The mailto: link tells the browser to open an email application when the visitor clicks the button.
Step 8: Add CSS Styling
Our HTML structure is ready. Now let's use CSS to make the portfolio look clean and professional. We'll start by resetting the default browser spacing and setting some basic styles.
style.css
The universal selector applies the box-sizing and spacing rules to all elements. We also use smooth scrolling so visitors get a smoother experience when clicking navigation links.
The navigation uses display: flex to place the portfolio name and menu on the same row. The gap property adds space between the navigation links.
Step 9: Style the Hero Section
Next, we'll style the hero section and position its content in the center of the page. Flexbox makes it easy to center the content both horizontally and vertically.
style.css
The min-height property gives the hero section a large viewing area. Flexbox centers the content, while text-align: center centers the text.
The heading sizes make your name and introduction stand out from the rest of the page.
Step 10: Create a Button
Let's style the buttons used throughout the portfolio. A clear button makes important actions easier for visitors to notice and use.
style.css
The padding adds space inside the button, while border-radius gives it rounded corners. The :hover selector changes the button's background when a visitor moves the mouse over it.
Step 11: Style Skills and Project Cards
Our skills and projects are displayed as cards. Now we'll use CSS to give these cards consistent spacing, rounded corners, and a subtle shadow.
style.css
The display: flex property creates a flexible layout for the cards. The gap property adds space between them, while flex-wrap: wrap allows cards to move onto another line when there isn't enough room.
The box-shadow adds a subtle visual effect around each card, helping the content stand out from the background.
Step 12: Make the Website Responsive
People visit websites on phones, tablets, and computers, so our portfolio should work well on different screen sizes. CSS media queries allow us to change the layout when the screen becomes smaller.
style.css
The @media rule applies these styles when the screen width is 700 pixels or smaller. The navigation changes to a vertical layout, headings become smaller, and the cards stack on top of each other.
This technique is called responsive web design. It helps your website provide a better experience across phones, tablets, and desktop computers.
Complete HTML Code
You've built each section step by step. Now let's combine the HTML structure into one complete portfolio webpage. You can copy this code into your index.html file and customize it with your own information.
index.html
Challenge Yourself
Finished your portfolio? Great job! Now challenge yourself by adding new features and making the website more personal.
- ⭐ Add your profile picture.
- 🌙 Create a dark mode design.
- 📱 Improve the mobile navigation.
- 🎨 Create your own color theme.
- 🖼️ Add images to your projects.
- 🔗 Add GitHub links to your projects.
- 📄 Add a downloadable resume.
- 📧 Create a contact form.
- ✨ Add CSS animations.
- 🧩 Add a timeline showing your learning journey.
What Did You Build?
You've now created a complete personal website using HTML and CSS. Your project combines several important web development concepts into one real-world project.
- HTML → Website structure
- CSS → Website design
- Flexbox → Page layout
- Media Queries → Responsive design
- Links → Website navigation
- Cards → Project and skill presentation
These are fundamental skills used in modern web development. As you continue learning, you'll be able to use them as the foundation for larger and more interactive websites.
Take Your Portfolio Further
Your portfolio doesn't have to remain a simple static website. As you learn more programming, you can add new technologies and turn it into a more advanced web application.
⚡ Add JavaScript
JavaScript can make your portfolio interactive. You could add a mobile menu, dark mode, animations, interactive forms, and other dynamic features.
- Mobile navigation menu
- Dark mode
- Interactive animations
- Form validation
- Interactive project filters
🐍 Add Python
Once you learn Python, you can explore how a backend can connect with your portfolio and handle data or other website functionality.
🗄️ Add a Database
A database can be used to store information such as contact messages, project details, or other dynamic content.
🤖 Add AI
As you progress into artificial intelligence, you could add an AI-powered chatbot or another intelligent feature to your portfolio.
Conclusion
Congratulations! You've built your own personal portfolio website using HTML and CSS. You learned how to create a website structure, build navigation, create sections, display projects, style elements with CSS, use Flexbox, and make your website responsive.
Most importantly, you've built something you can continue improving as you learn more about programming. Add your own projects, customize the colors, experiment with layouts, and make the website truly yours.
🚀 Future Coders Program for Kids
Ready to Start Your Child's Future-Ready Tech Journey?
Empower your child with Coding, Artificial Intelligence, Web Development, Mobile Apps, Robotics, and Future-Ready Digital Skills through live interactive, project-based classes at TeacherColab.